Family owned since 1990 Icon
Family owned since 1990
Onsite Showroom Icon
Onsite Showroom
PRICE MATCH GUARANTEE Icon
PRICE MATCH GUARANTEE
DEDICATED ACCOUNT MANAGER Icon
DEDICATED ACCOUNT MANAGER

Porcelain Indoor Tiles

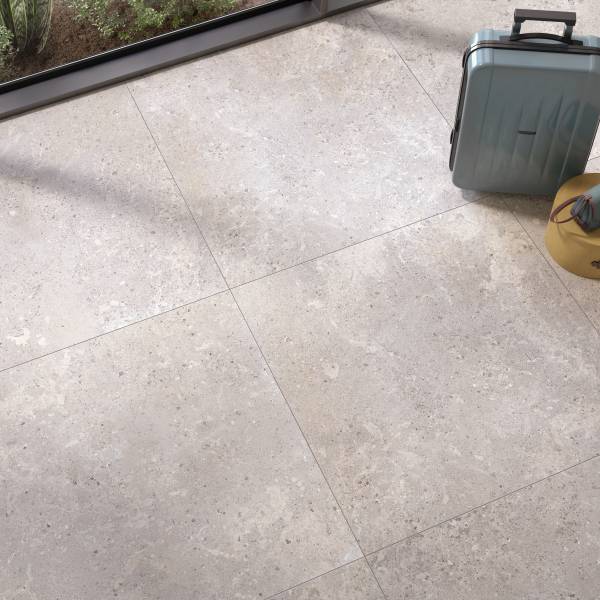
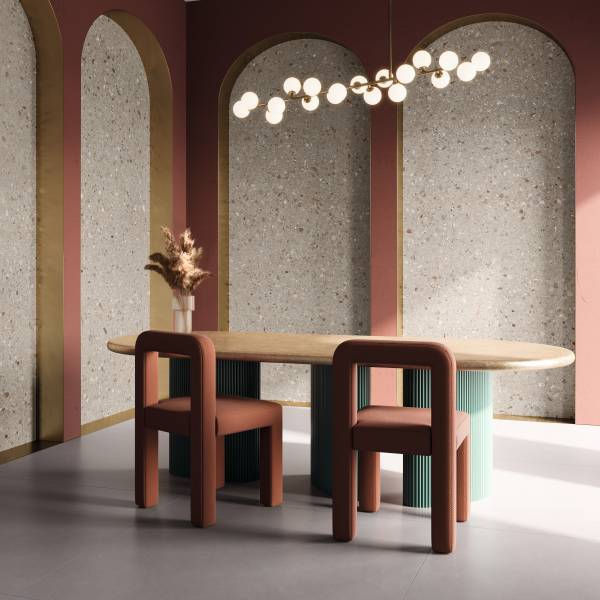
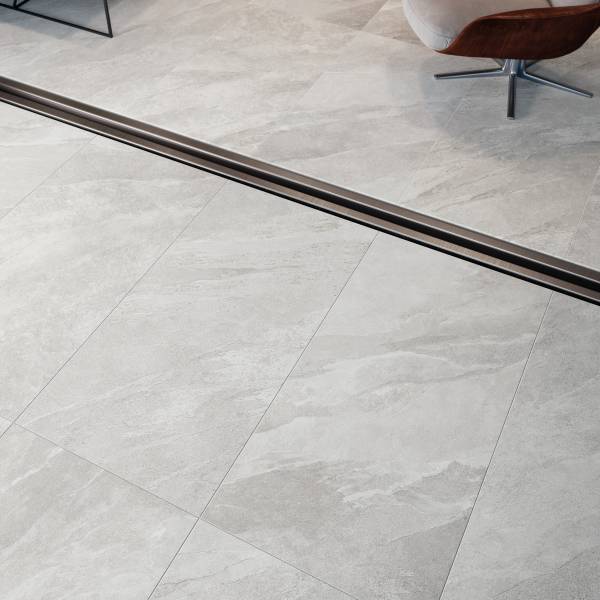
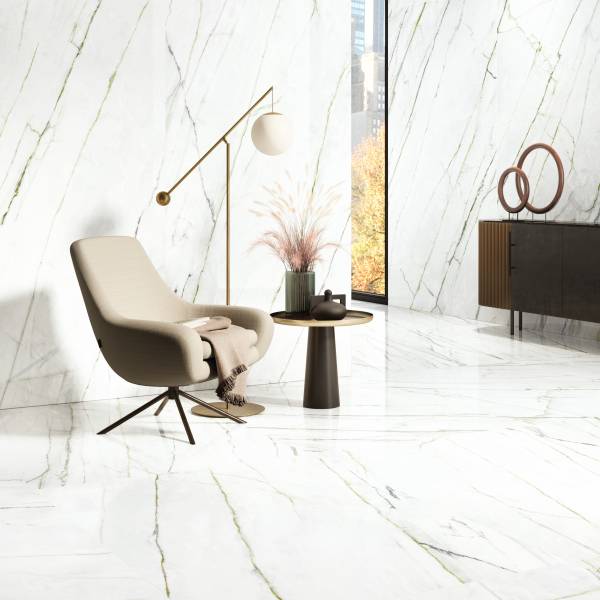
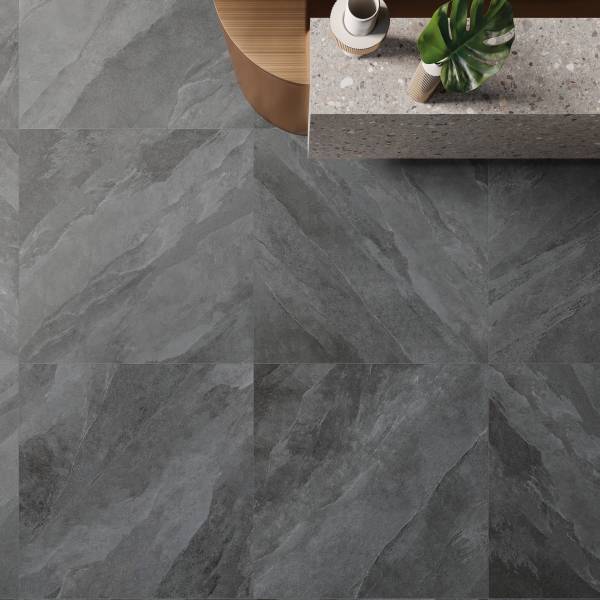
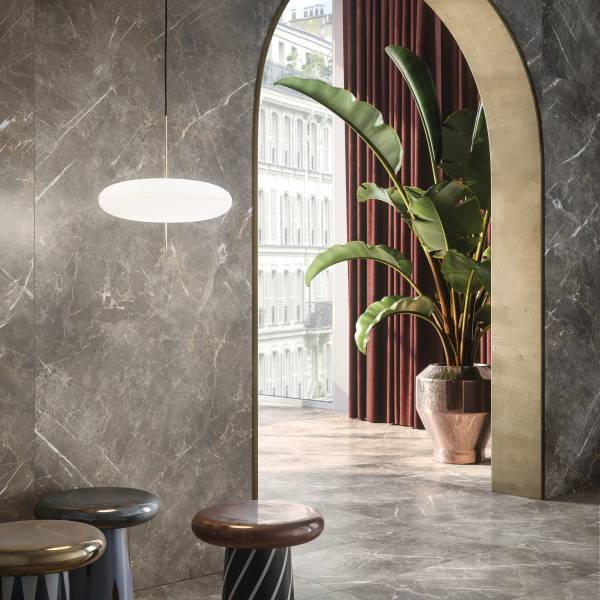
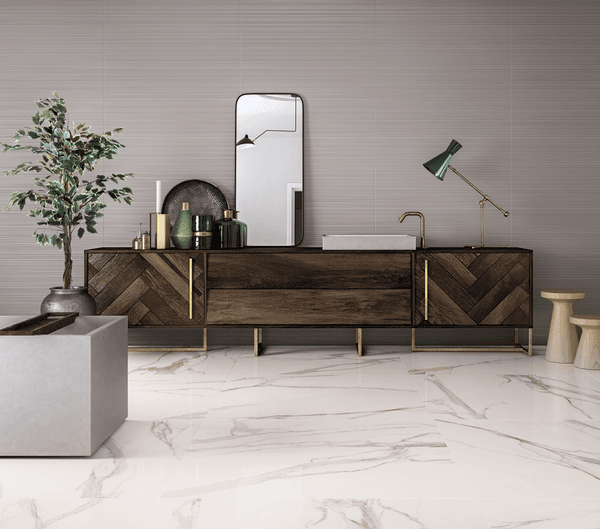
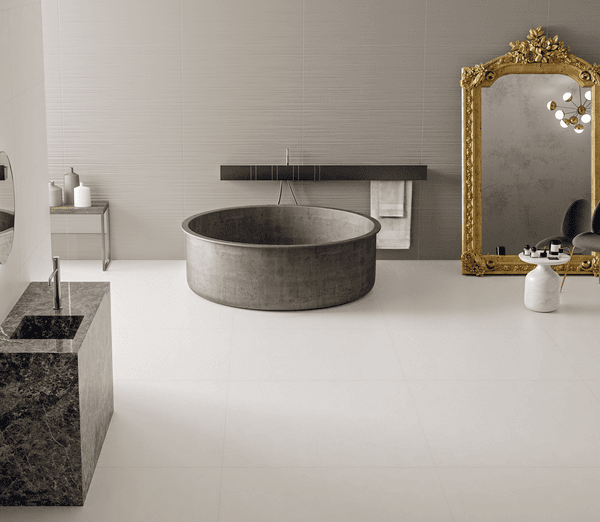
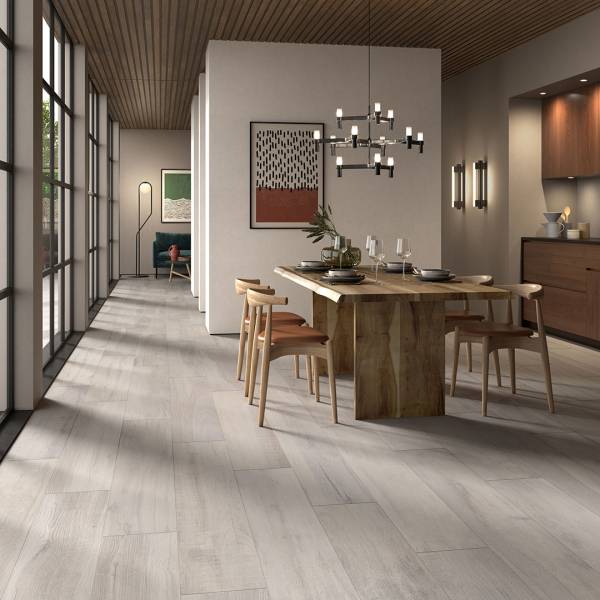
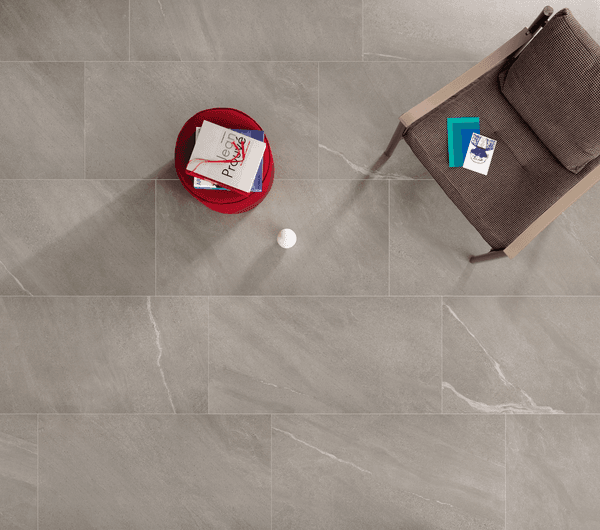
Transform your interior with our exquisite tiles. Whether you are intrigued by a marble effect wall tile or drawn to a wood effect porcelain floor tile, we offer internal tiles to suit a range of tastes, aesthetics and needs. 


Our internal tiles are a gorgeous addition to any room. Do you need new bathroom flooring? Perhaps a kitchen wall splashback? Maybe you want to stand out and make a statement with floor tile for your living room? Our elegant tiles add beauty and class to these simple spaces. Additionally, with our In and Out porcelain tiles, you can extend the tiled style of your home into the garden as well. 


Explore our range of internal tiles and select the perfect flooring or wall tiling for your distinctive home.

Read more
Porcelain Indoor Tile FAQs
How to lay porcelain tiles indoors?

Our indoor tile laying steps can guide you in creating a beautiful flooring solution:


  1. Clean your floor and make sure it is level. If the floor is uneven, apply a self levelling screed.
  2. Put a coat of primer on a flat concrete floor. Use a primer and an anti crack mat for a level timber floor.
  3. Cover uneven timber floors with marine plywood before using a mat.
  4. Find the centre of the room and practise your layout from the middle outward.
  5. Measure the gap between the last full tile and the wall.
  6. Subtract the width of a spacer plus one millimetre to find your cut size.
  7. Mark the tile with a pencil and cut it using a tile cutter or grinder.
  8. Spread adhesive on the floor with a notched trowel.
  9. Rub a thin layer of adhesive onto the back of the tile.
  10. Place the tile down and tap it with a rubber mallet.
  11. Put spacers between the tiles and repeat the process.
  12. Wipe any adhesive off the tile surface immediately.
  13. Let the tiles dry overnight.
  14. Take out the spacers and wipe the tiles with a damp sponge.
  15. Mix the grout with water.
  16. Push the grout into the gaps using a grout float.
  17. Wait 15 to 30 minutes and wipe the tiles carefully.
  18. Wait another 30 minutes and give the tiles a final clean with a damp sponge.


For more complex tiling tips, including tiling stairs, see our interior tiling guide.

Why choose porcelain indoor tiles?

Indoor porcelain tiles have a number of practical benefits in addition to their sleek and sophisticated appearance. Their durability makes them perfect for high-traffic rooms, while their water resistance makes them ideal for bathrooms and kitchens, without any need for sealing.

They’re also more eco-friendly than synthetic tile options, as they’re made from natural clay. We also work with green-thinking factories like Keope that implement sustainability practices such as recovering all water used, reducing raw material use, and using recycled packaging. 

Additionally, there are plenty of economical options available, including budget porcelain tiles and clearance porcelain

Last but not least, indoor porcelain tiles offer an opportunity for home and garden cohesion with In and Out porcelain tiles, which provide internal and external tiles in the same colour and patterning for a seamless transition from indoor to outdoor spaces. 


See our full porcelain guide to learn more about this popular paving material.

How to maintain indoor porcelain tiles

Porcelain indoor tiles are very low-maintenance. Simply clean them as needed by lightly vacuuming or sweeping, then wash with mild detergent and warm water. Avoid harsh chemicals that could damage tile surfaces or grout lines.

Are internal tiles compatible with underfloor heating?

Porcelain floor tiles have excellent thermal conductivity and heat retention, meaning that they work exceptionally well with underfloor heating. Simply remember to use compatible adhesives that allow slight movement as the floor heats and cools. 

Which indoor porcelain tiles should I choose for my home?

Porcelain indoor tiles are available in a range of styles to fit your interior design vision. Plain-coloured and large-format tiles are ideal for a modern, clean, and minimalist look. Or, for an extra luxury feel, silk finish and marble porcelain bring the look of a grand palace into your humble home. 


Love the wholesome look of wood but dread the maintenance and low durability? Wood-effect porcelain floor tiles effectively solve the issue. 


The type of tile you choose also depends on the room you’ll be tiling. For kitchens and bathrooms, prioritise slip-resistant, moisture-proof tiles. In living areas, focus on aesthetic choices like colour and finish. Hallways and entryways benefit from highly durable and stain-resistant options due to higher foot traffic.


For more advice, our tile style guide offers tips on selecting tiles that complement your desired interior design aesthetic.

How to install wall tiles

If applying porcelain tiles to a wall, use the following steps as a guideline. 


  1. Check the condition of the wall and replace the boards if they are uneven.
  2. Apply a tile primer to new plasterboard or old bathroom walls. Use waterproof backer boards or a tanking membrane for wet rooms.
  3. Find the centre of the wall and mark it with a pencil or a laser level.
  4. Measure from the centre to the edges to ensure the end tiles are not too thin.
  5. Fix a level wooden batten to the wall if you are not starting with a full tile from the floor.
  6. Mix a batch of standard-set tile adhesive.
  7. Apply the adhesive to the wall with a notched trowel.
  8. Spread a thin layer of adhesive onto the back of each tile.
  9. Place the tile on the wall and tap it until it is level.
  10. Insert spacers between the tiles to keep the gaps even.
  11. Wipe any extra adhesive off the tile surfaces right away.
  12. Measure the gap at the end of the row and subtract the spacer width plus one millimetre.
  13. Cut the tiles using a manual cutter, grinder, or wet saw.
  14. Let the wall dry overnight.
  15. Remove the spacers and clean the tiles with a damp sponge.
  16. Mix the grout with water and press it into the joints with a grout float.
  17. Wait 15 to 30 minutes and wipe the tiles with a damp sponge.
  18. Wait another 30 minutes and wipe the surface again.
  19. Buff away any remaining grout dust the next day.


You can find more details in our interior tiling guide


Sign up to our newsletter!